Wednesday, January 1, 2014

The Guest Room

The Guest Room Reveal...

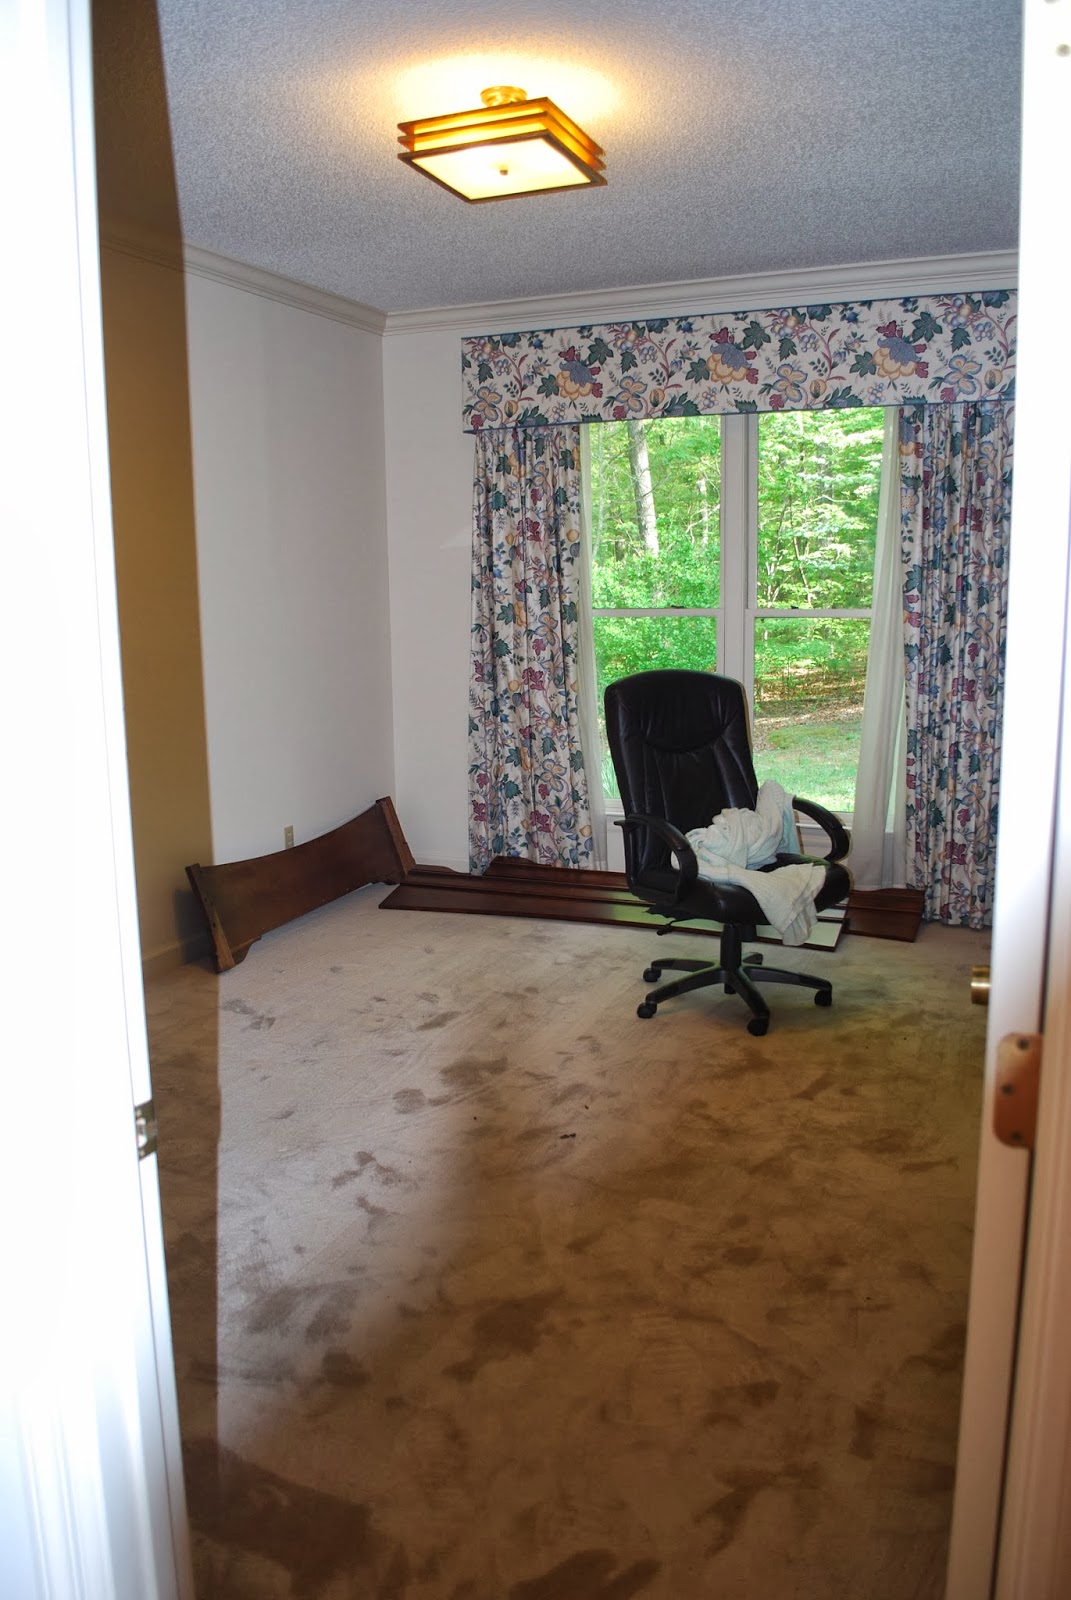
The before and after of this room seriously motivated me to do our own bedroom.  The cornice boards were probably beautiful in their own time, but 20 years later, they had to go. 

I feel like the room is open and inviting now that it's complete, I had to stop each time I walked by just to say "I can't believe how different this room is!"  To give perspective, it's about 18x14 (18 ft from the door to the window)

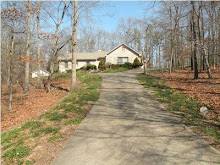
The room looks out into the backyard...

BEFORE...
.

AFTER!!
Question: Valance or no valance?  I sort of like it like it is...

The closet is actually a craft space.  My sewing table was the perfect size and there are built in shelves in it.  SO, one of these days (years probably), I will spend time on the craft closet.  

The room color is actually very different from the hallway, you just can't tell in the pics.  The hallway is much lighter than this room.  The color for the guest room is called Timberwolf gray and it's from ACE hardware. (Caution: Timberwolf has a lot of violet/fushia in it.  It worked for this room, but in a very light room it may have a purple tone...I would definitely do a sample of this one before buying 3 gallons of it....trust me.)

This room also doubles as a "study".  

Have a blessed day!
Jana

The Firepit!!

HAPPY NEW YEAR!!  Welcome to 2014 and I hope it's a blessed one for you!  We have been crazy busy with homeschooling, sick kids, sick mommy, out of town a few times, updating stuff around the house, and I made a B in the class I took last semester at LRU (it was Introduction to Old Testament)...and I decided to change programs and now my B won't count for anything. (blah...) But anyway, it was a good starter class.
I have so many updates to tell you about, but I'll continue to do just one at a time.  I will update several before school starts up again and then I'll go back into blog-hibernation until spring.  We've completely redone the guest room, I painted the master bedroom and the living room!  It looks SO good, but I'm still decorating and trying to find great deals for the wall decor.  Greg literally just pulled in with paint for Marli's room....and there is stuff on the Master wallpaper now so I can start pulling that off asap!

Here ya go!

During October, we really wanted to use some of the materials left here (cinder block, brick, etc.) to build a fire pit.  We have future plans for the deck, garden area and the fire pit will be at the edge of a stone patio...(who knows when that will happen.)  And by the way, this winter garden was a total fail.  UGH!  I'll try again in the spring.
 Greg dug out and leveled the ground before pouring a footer for the cinder block...you can sort of tell it's at the edge of the garden area.

 We tried every way possible to maximize materials so we wouldn't have to buy more, etc and then it would be a project where we only would have to buy concrete for the footer and mortar for the brick.  Once we started trying to figure out how to lay brick, watching Youtube videos, etc...He decided to hire someone for the brick work.  Greg did everything up to this point.


A retired mason "Mr. John" came over and had this baby done in ONE afternoon, minus the top.  He hap to do the top the next morning.  (Below)

I love it!  We had a small group gathering at our house with about 30+ people and it was a huge hit for s'mores and just to keep warm on the chilly night.
So here it is cleaned up a little with an insert.  Rather than build the fire inside, we chose to get a cheap insert to keep the fire a little higher, but also for ease of cleaning up.

The area in the foreground here will be the future stone patio...